
I have a Mesa Engineering V-Twin preamp. As you’d expect from Mesa Boogie it’s a quality piece of kit and it’s built like a tank overall. However one of the LEDs had gone missing – it was like that when I bought it – so I needed to get inside to replace the LED. That’s not such an easy thing to do so here are the steps I took to get inside.
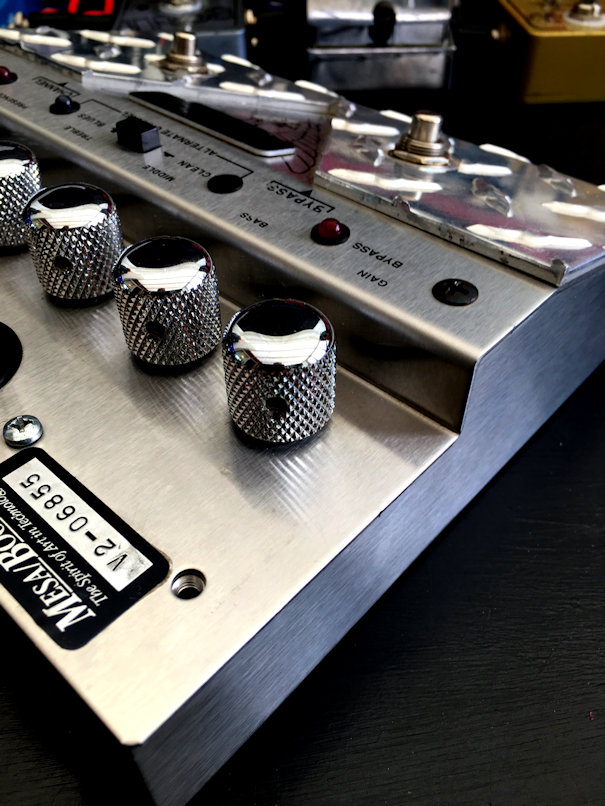
The first thing is to remove the knobs. First, you’ll have to release the hex nut on each knob with a hex key. The knobs just slide off but look out for a small plastic bushing on the shaft of each potentiometer. Remove them so you don’t lose them. I found I had to take off the cover that protects the 2 tubes to get access to the hex nuts. That’s easy because the cover is held in place by 2 thumb screws that are easily removed. In the end I also popped out the tubes so they didn’t get damaged.
Once you’ve done that you need to take off the retaining nut on each of the potentiometers too.
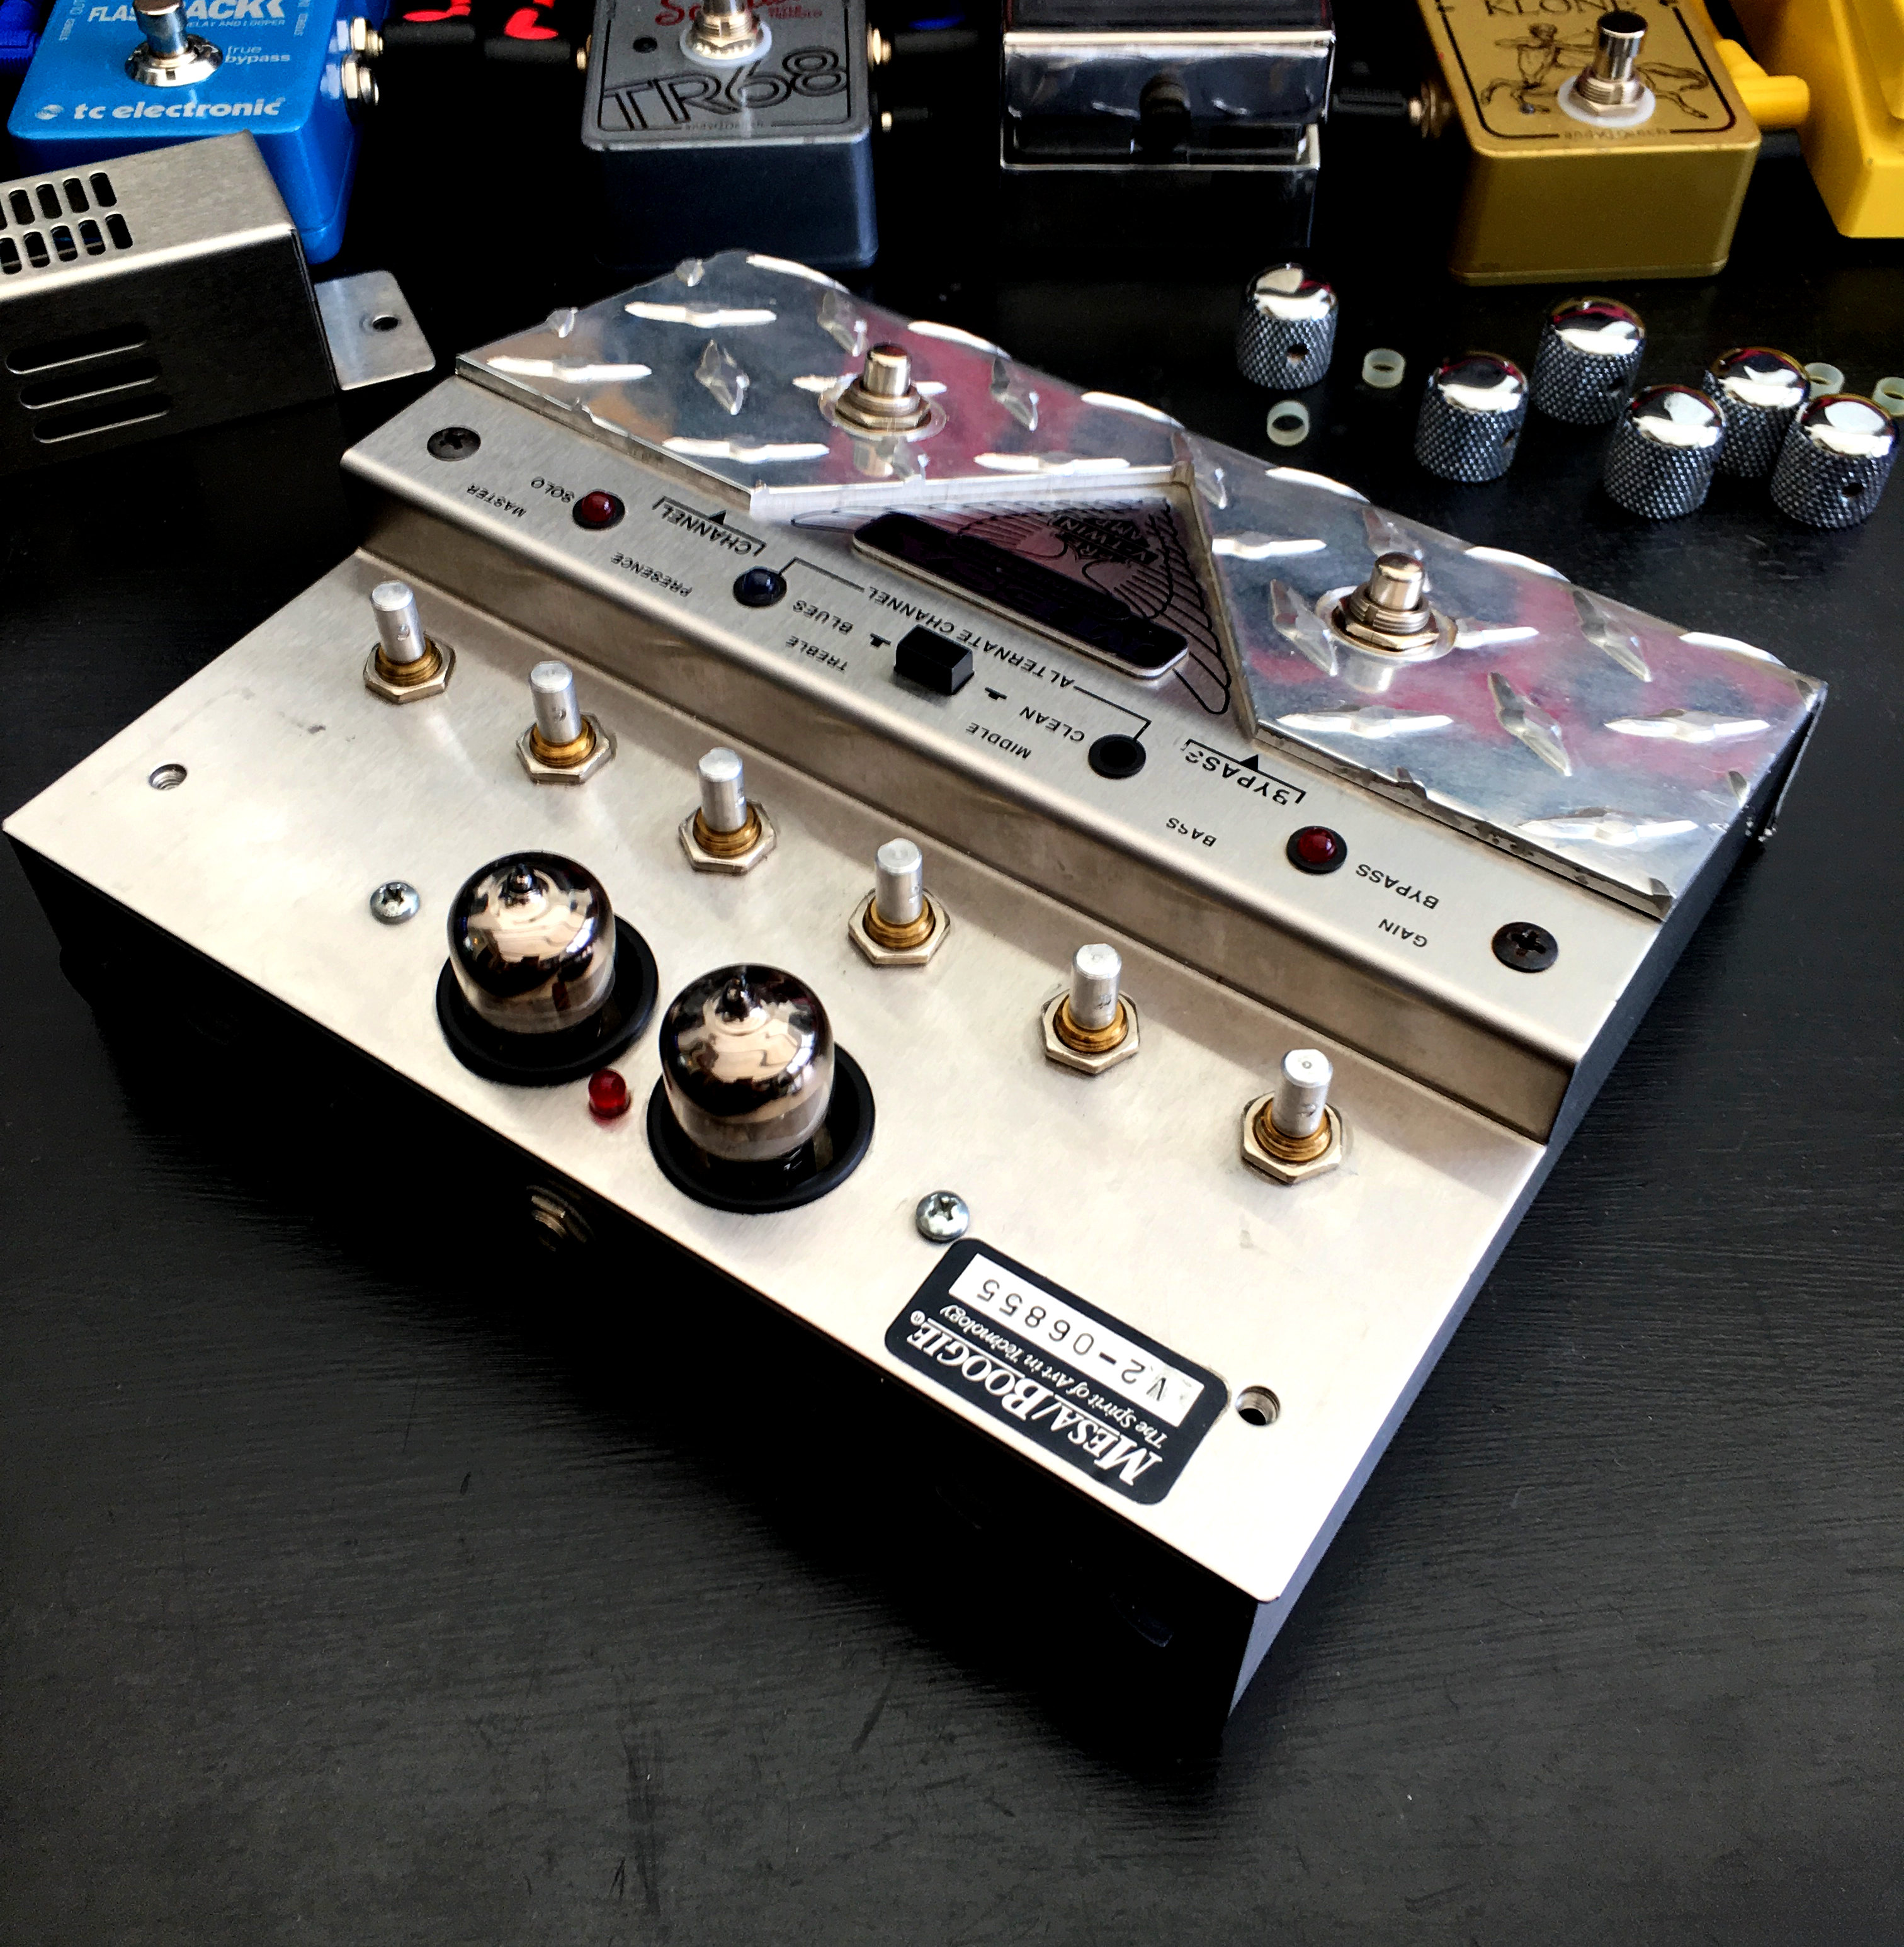
Next there are 4 screws that need to be removed. The silver coloured screws each side of the tubes need to come out as do the black screws at each end of the panel that the LEDs and alternate channel selector switch are located on.
At this point I also took off the nuts around the foot switches. If you don’t do this you’ll find it tricky to get inside the case because the switches are connected to the board by quite short wires. Removing those nuts also freed the tread plate cover so I removed that too.
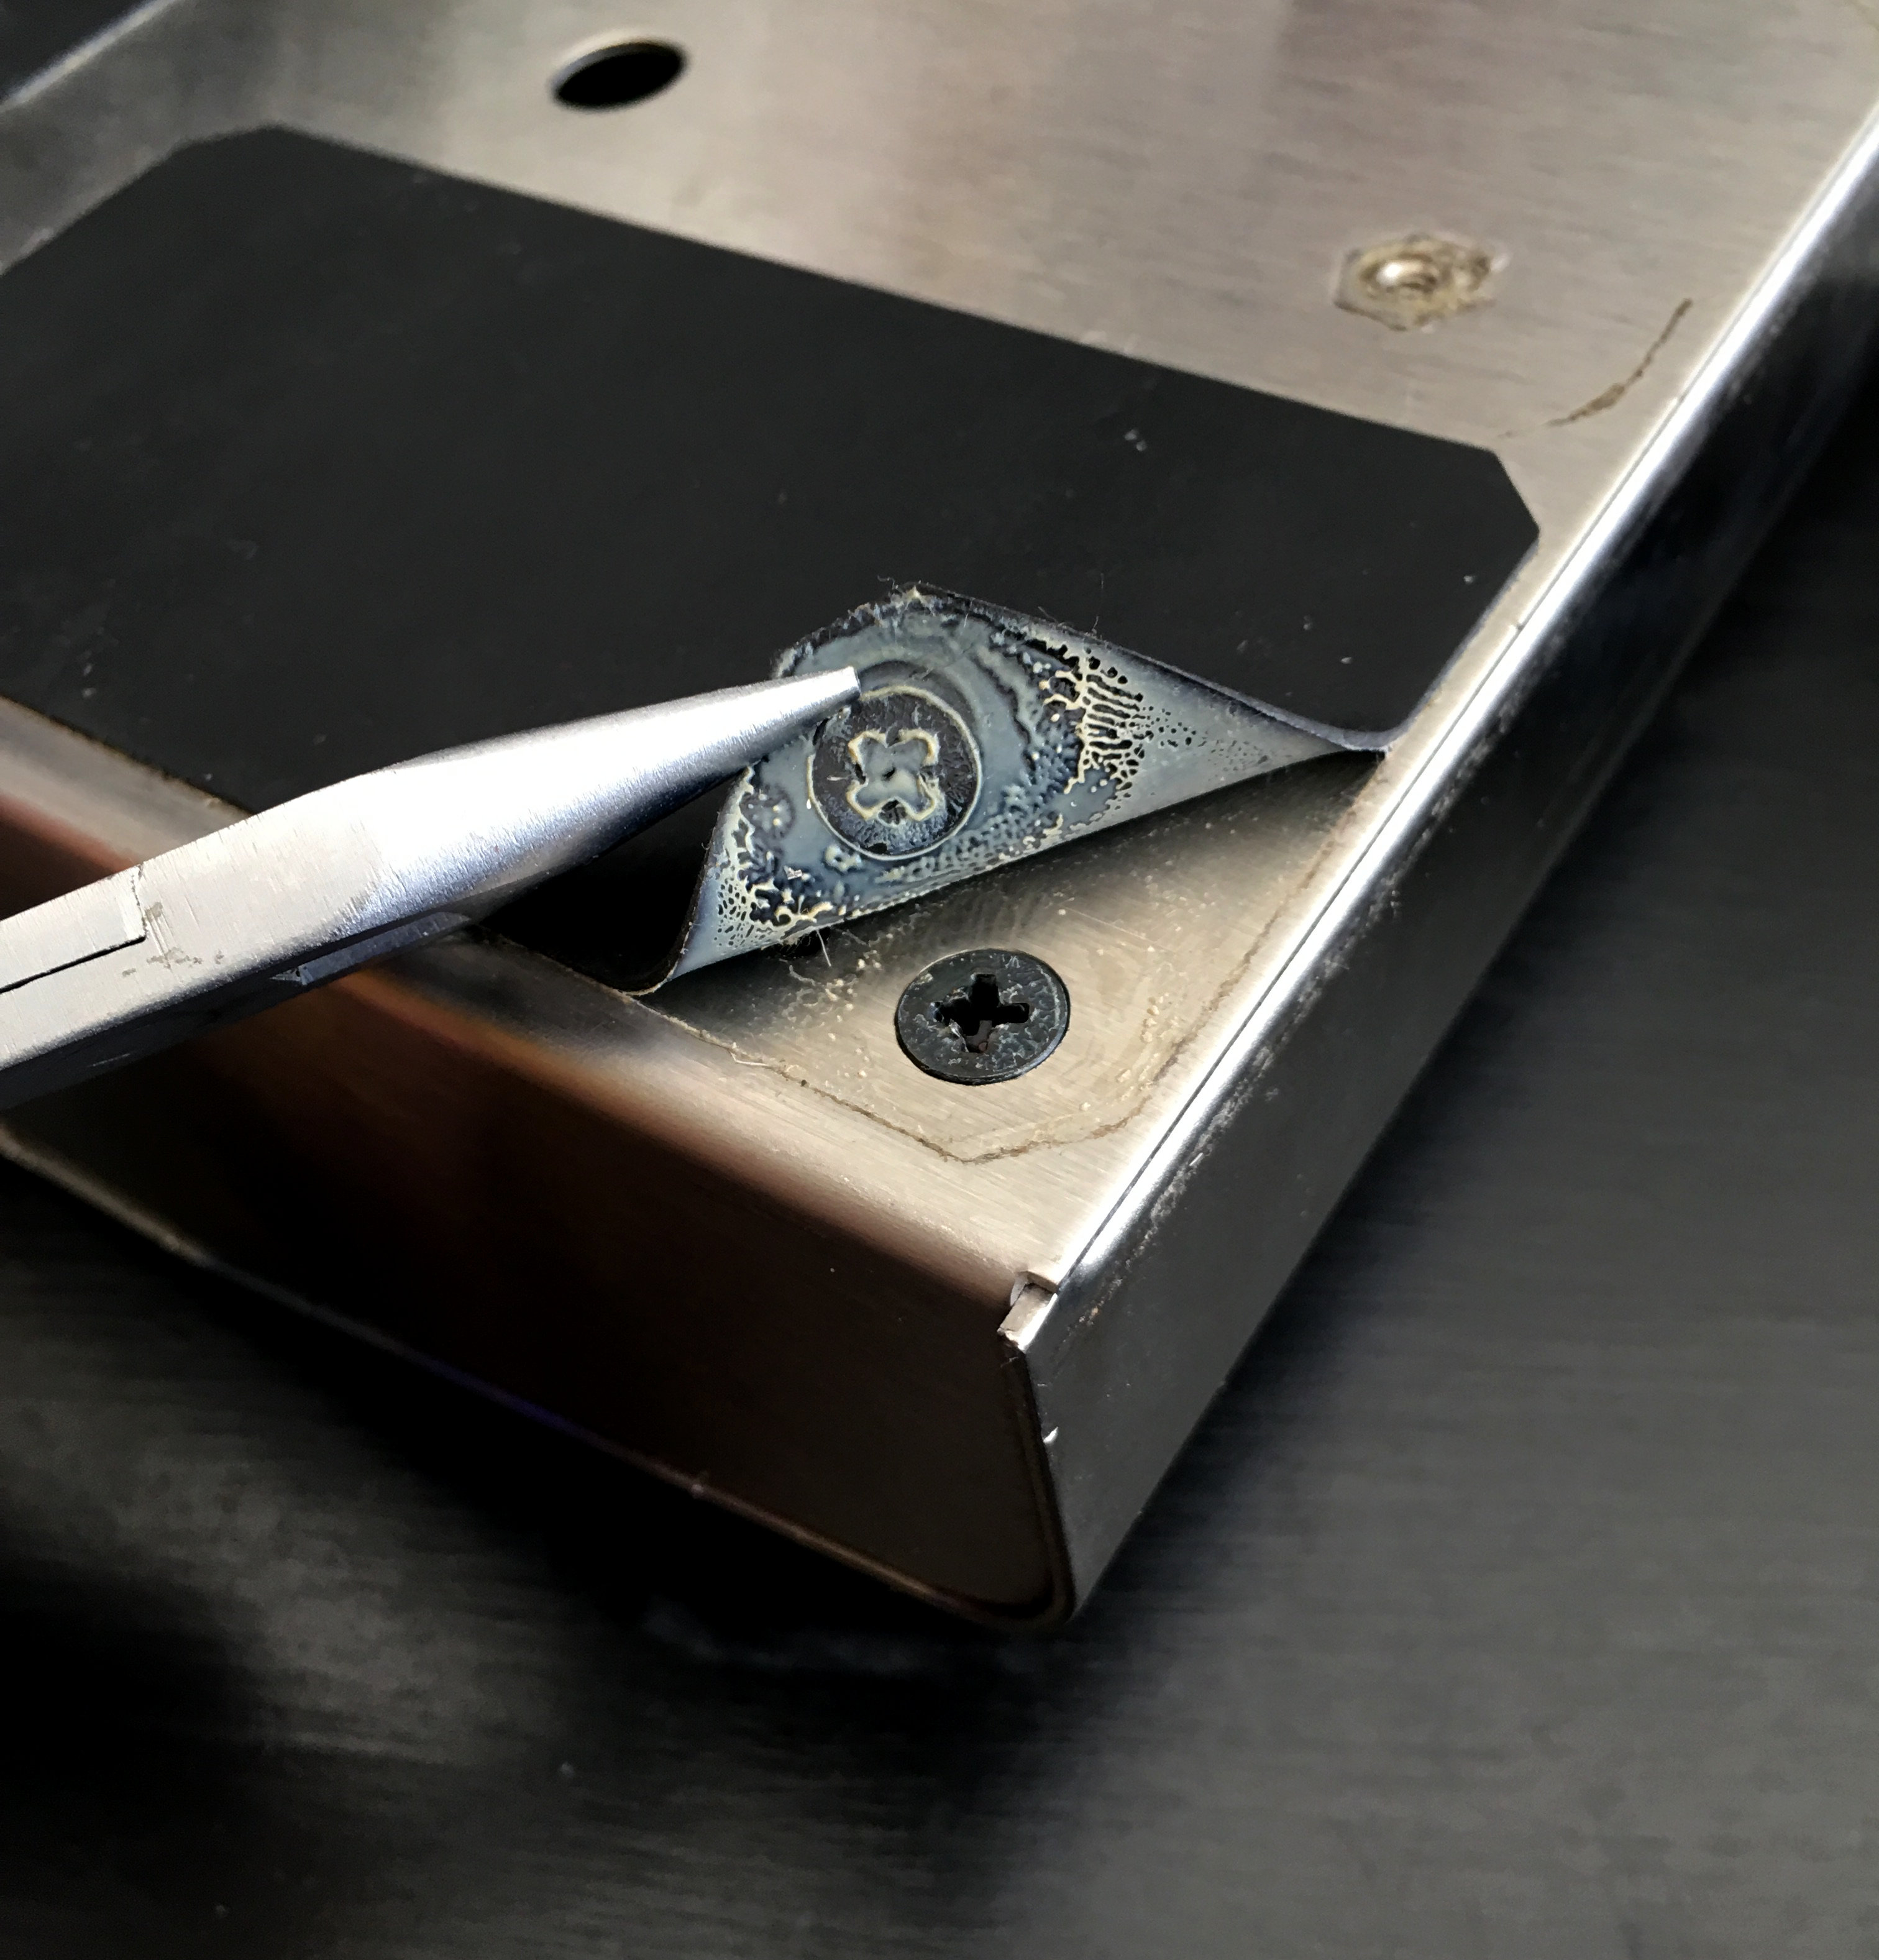
At this point you’ll be wondering why the cover still won’t come off. The reason is there are 2 more retaining screws on the underside of the case. They are hidden under the rubberised non-slip material stuck to the bottom of the case. Peel that material back to get at the screws so you can remove them.
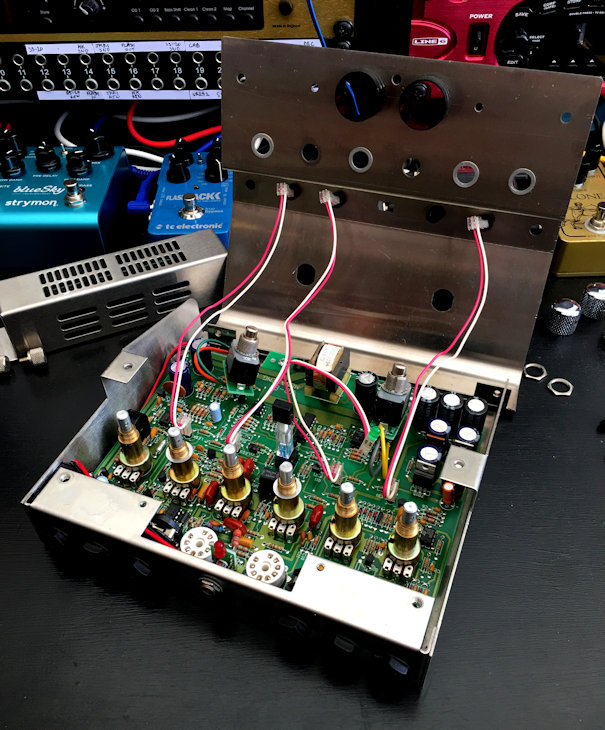
With all those screws and nuts removed you can now you can get inside the case.
You’ll see from the picture below that in this case the missing LED had actually just fallen inside the case so the only fix required was putting back into position. If you need to replace an LED you won’t need to do any soldering. The LEDs are attached using solderless sockets. Neat!
Thanks a lot, had the same issue. And my knobs need some contact cleaner. Couldn’t open the lid, but thanks to your post I found the two screws on the back
Glad to be of assistance!
Thank you very much for the sharing, Andy, really helps on upkeeping this unit in regular maintenance
Thanks from me too. A really helpful post. Great pedal too!! Have a great day 🙂 m
Well Andy, I’m yet another user of this amazing machine who thanks you for this invaluable tutorial. I also would never have expected that those two bottom screws would be hidden. Everything went flawlessly, and, like in your case, the blue LED was inside the case and still attached, easy fix! I wanted to share my suspicion that this is a design vulnerability: when the foot comes down on the stomp switches it also has the ability to come down upon the LEDs, dislodging them from their mounting and into the case. Most likely anyone who has a missing LED… Read more »
Hi Greg. Thanks for taking the time to comment. Yes, I tend to agree with you. Something of a design flaw. Glad you got yours sorted!